Advanced Wallet Features
Backing up
There are three ways to get to the Wallet Backup Screen:
OPTION 1
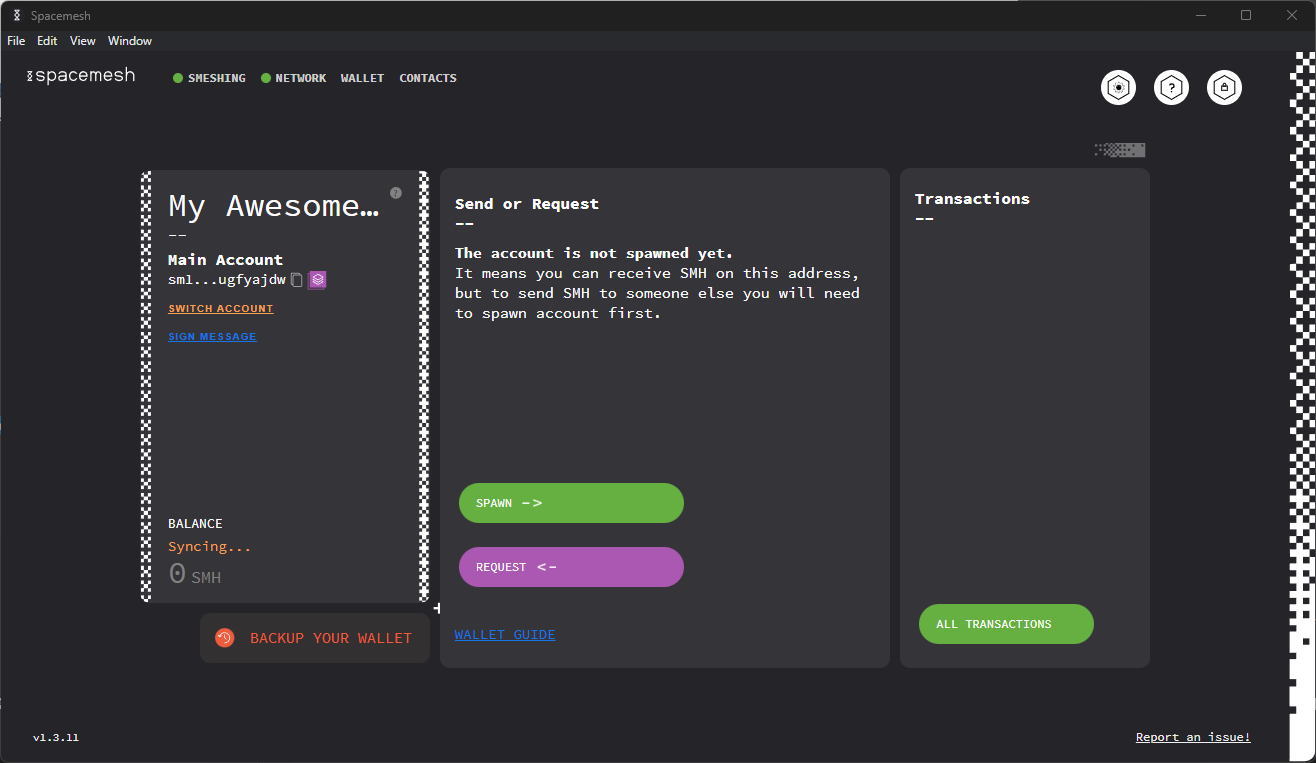
From the main screen. Note that until the first backup is done, there will be an alert under the “BALANCE” section saying “BACKUP YOUR WALLET”.

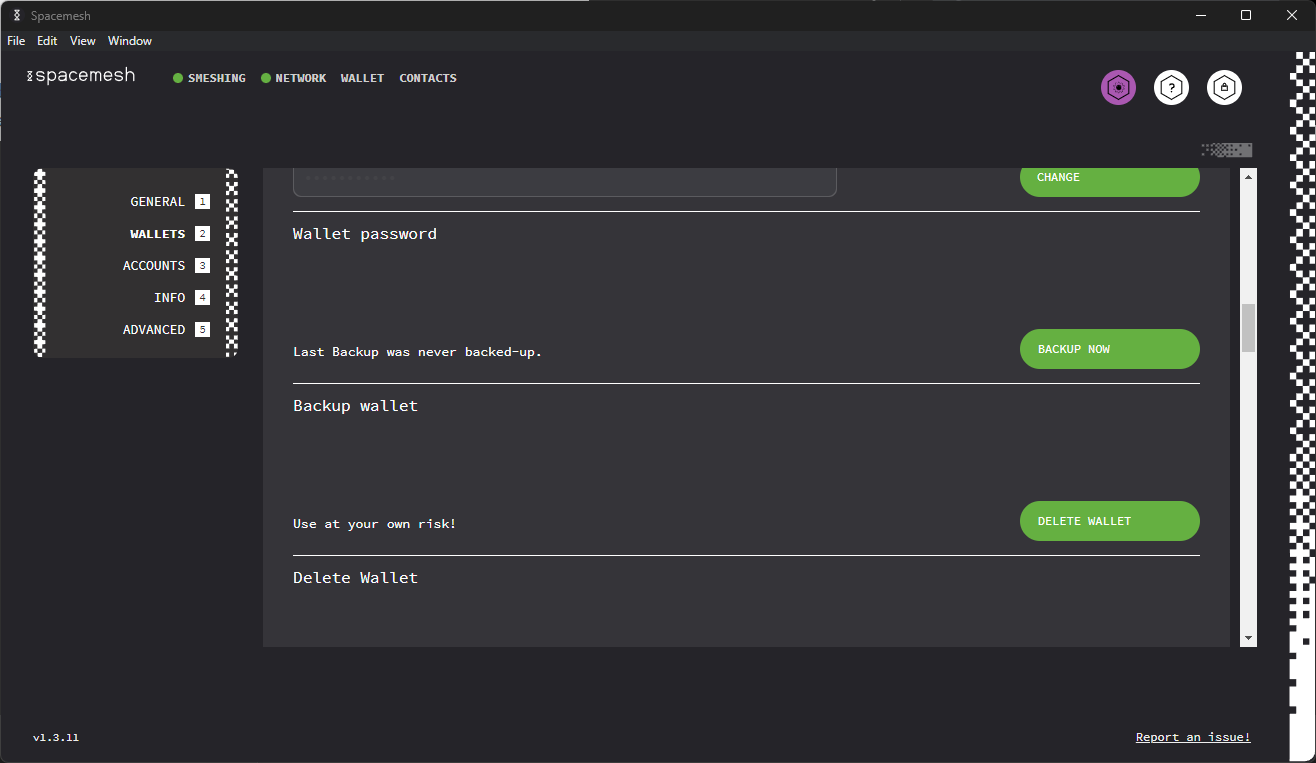
OPTION 2
In the top right corner of the main screen, there is the SETTINGS button. After navigating to the settings, find the WALLETS option in the left menu, then scroll down until you see the Backup Wallet section. Once there, click the BACKUP NOW button.
Now, you are at the Wallet Backup Options screen:
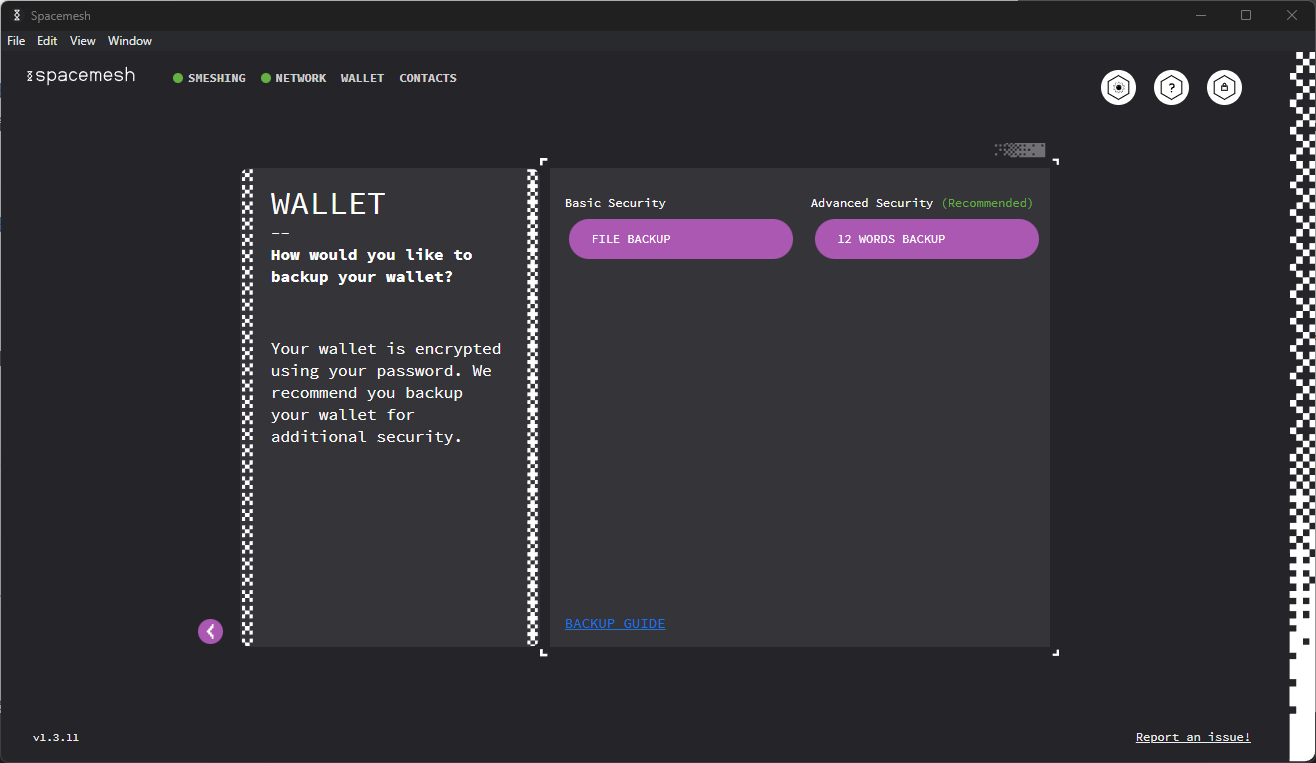
At this stage, you will have two ways to back up your wallet: File Backup and 12 Words Backup.
File Backup
Click on the FILE BACKUP button and you will be taken to the file backup screen:
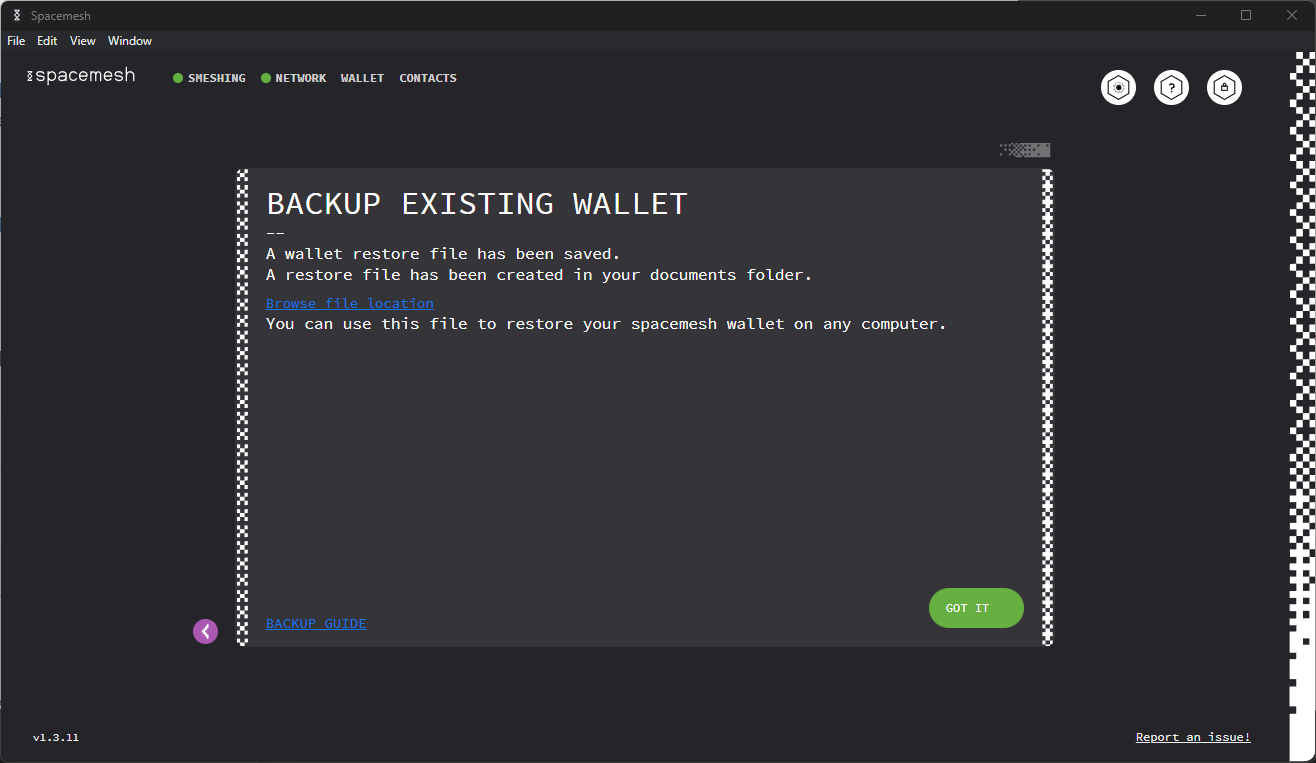
Clicking on the Browse file location button will open a file browser window with the Wallet backup file selected. The file is saved in the “Documents” folder by default but can be moved to any other folder or the ledger wallet.
Option MNEMONIC BACKUP
Click the MNEMONIC BACKUP button and you will be taken to the mnemonic backup screen:
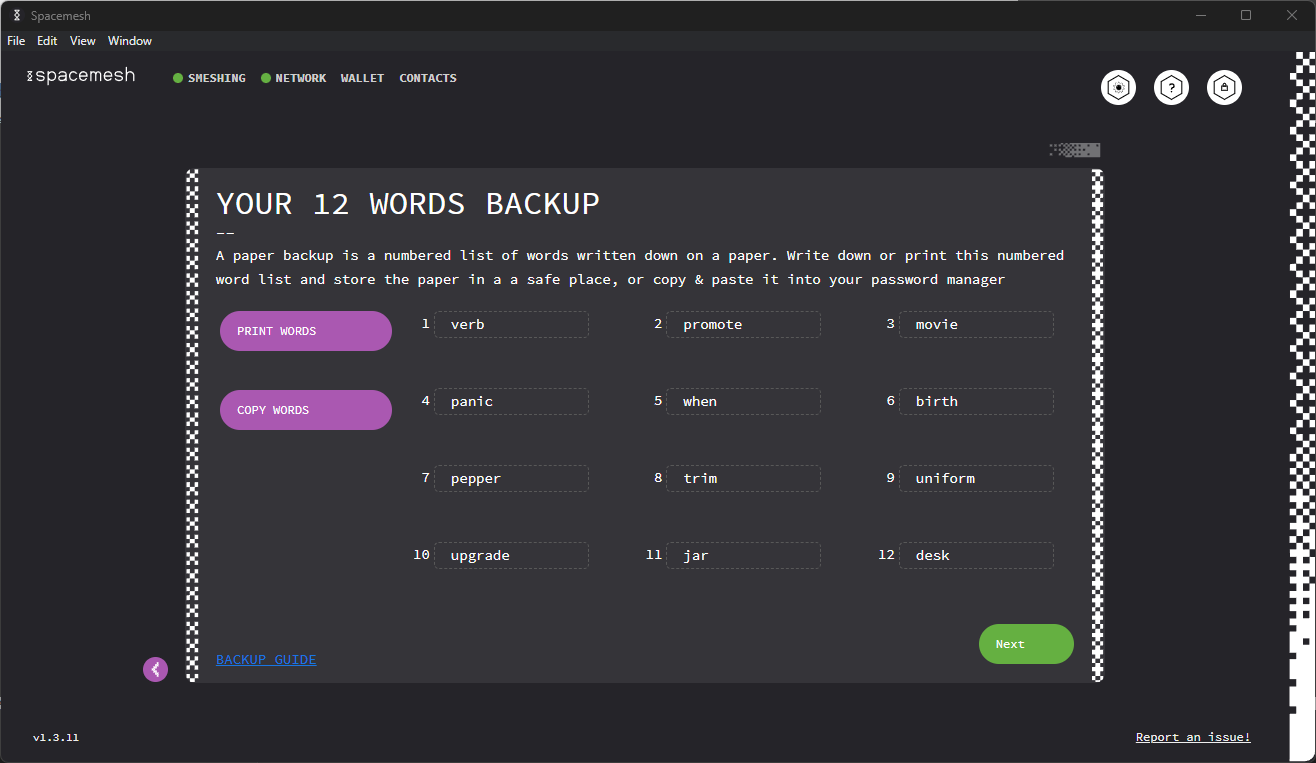
These 12 words can be used to restore your Wallet anywhere using Spacemesh software. They are also referred to as seed or seed words. By clicking the PRINT WORDS button, a standard print window will open, allowing you to either save the words as a PDF on your computer or print them on paper.
The other button is COPY WORDS. This option is useful if you want to save the words in some kind of encrypted file or vault. After clicking the COPY WORDS button, you will see a message in green confirming that the words have been copied to the clipboard.
Use any of the above two options to create a backup of your wallet. Once done, clicking NEXT will take you to the confirmation screen.
Confirmation Screen
On the confirmation screen, you can practice restoring the 12 words in the right order by dragging and dropping the randomly selected 4 words in the right places.
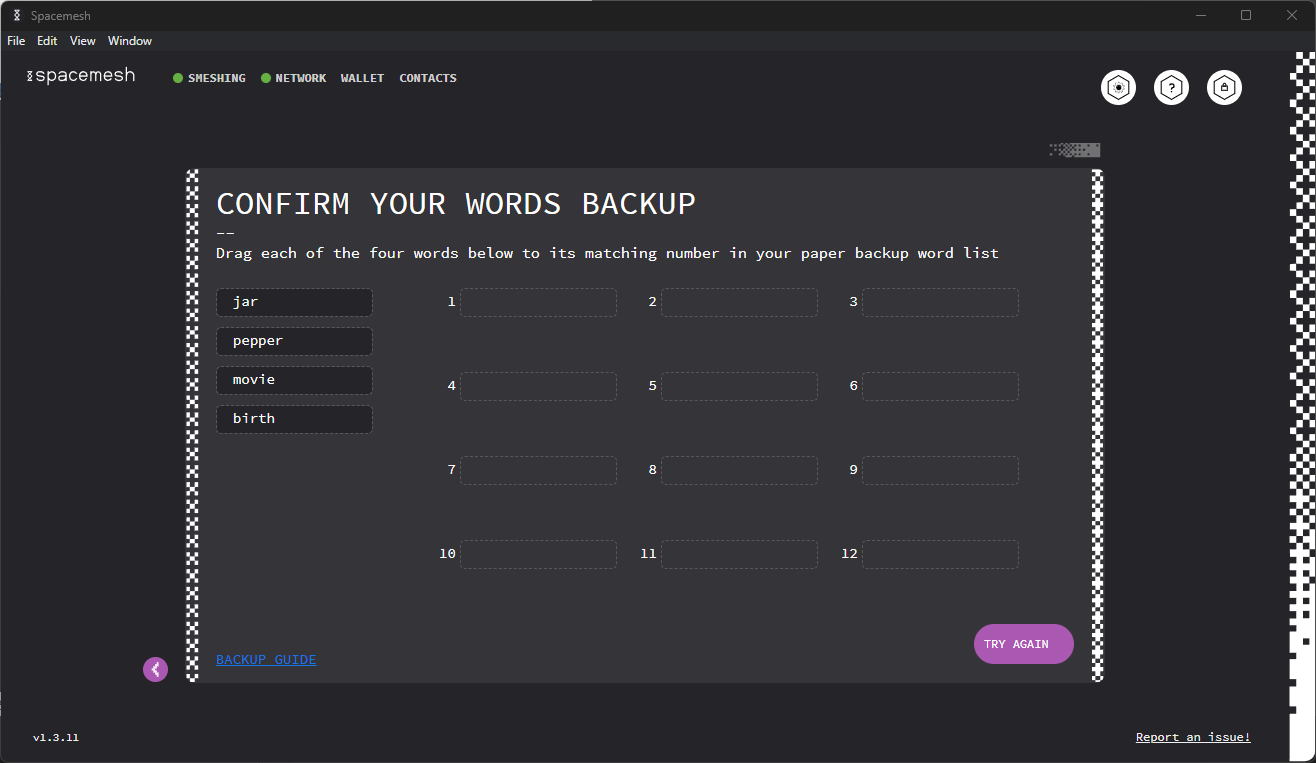
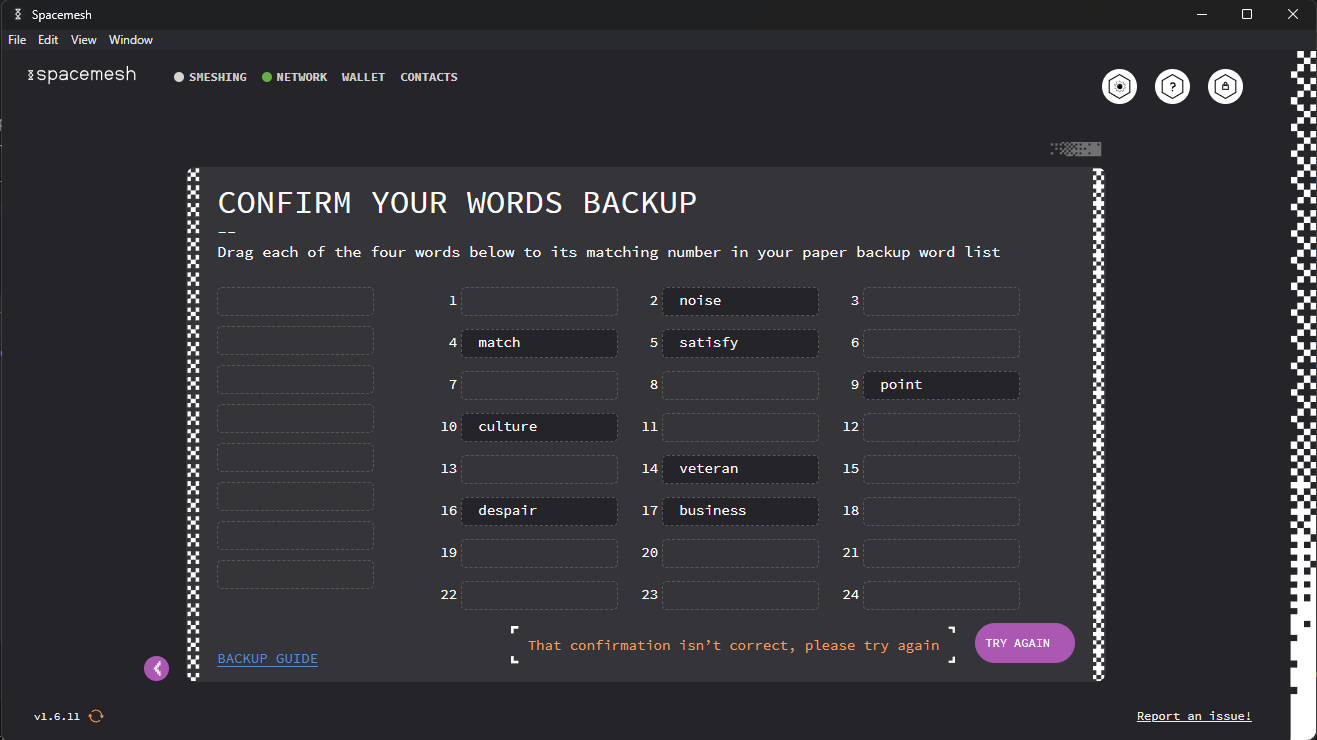
If you manage to place the words in the right order, you will be able to click DONE and will be returned to the Wallet screen. However, if you fail to do so, the following message will be shown beside the TRY AGAIN button:
Rename Wallet
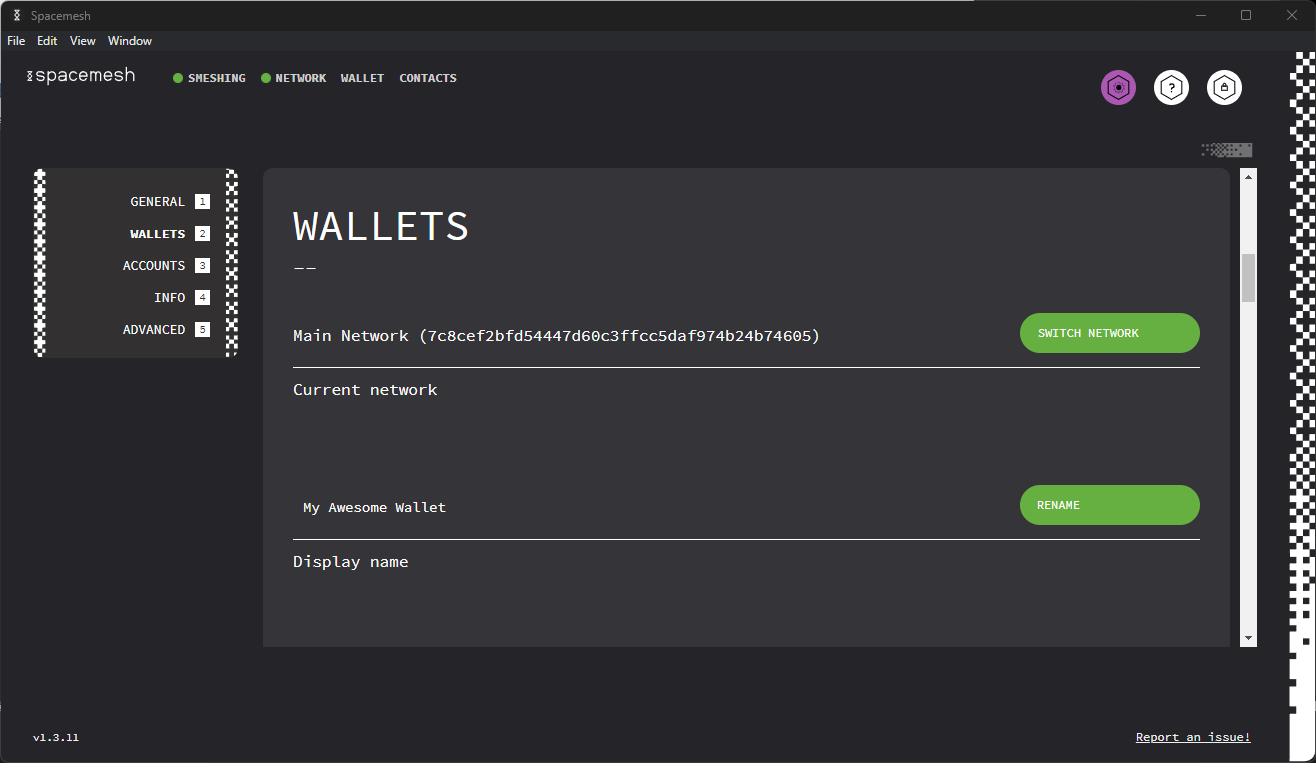
Click on the WALLETS option in the left pane and scroll down until you see the Display Name section:

After clicking on the RENAME button, you will be allowed to enter a new name for the wallet.
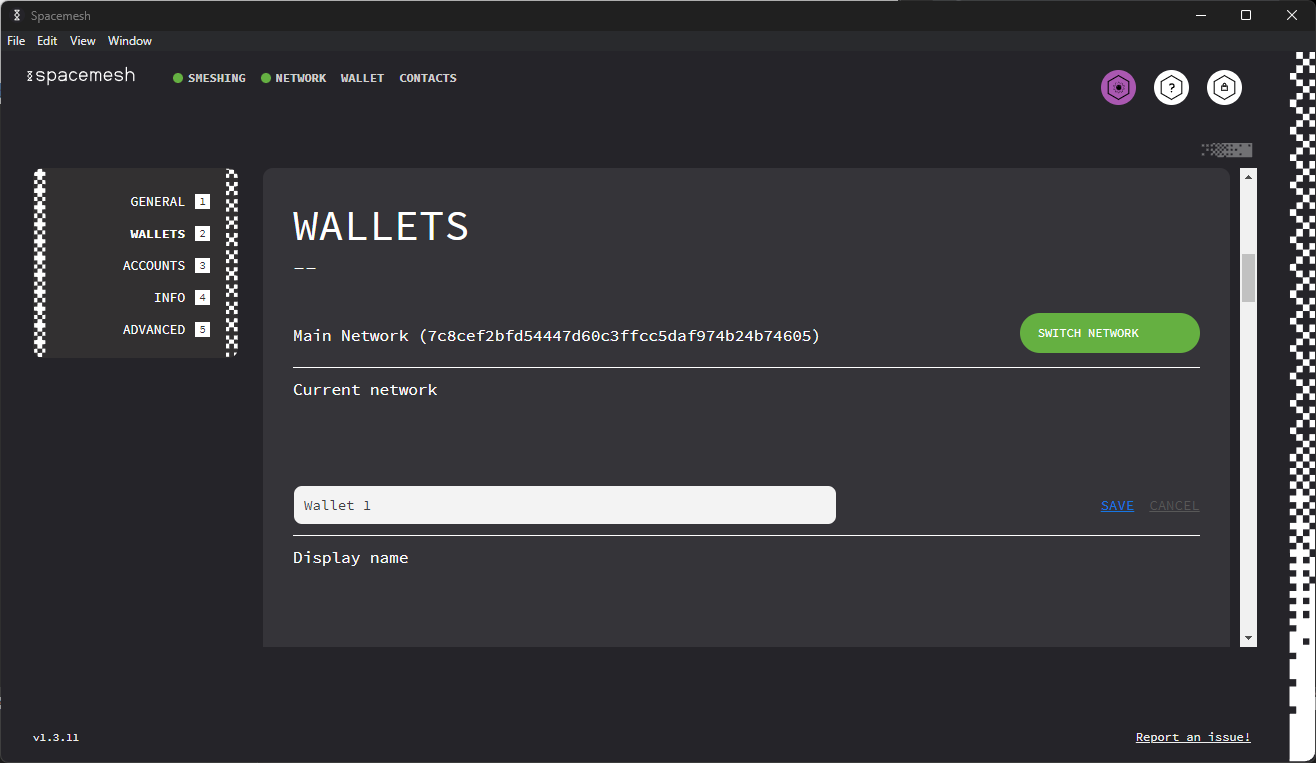
After typing in the new name, click the SAVE button or CANCEL to leave the name unchanged. If you clicked SAVE, you will see that your Wallet has the new name:
Changing Wallet Password
Go to the Settings screen and click on the WALLETS option in the left pane. Then, scroll down until you see the Wallet Password section:
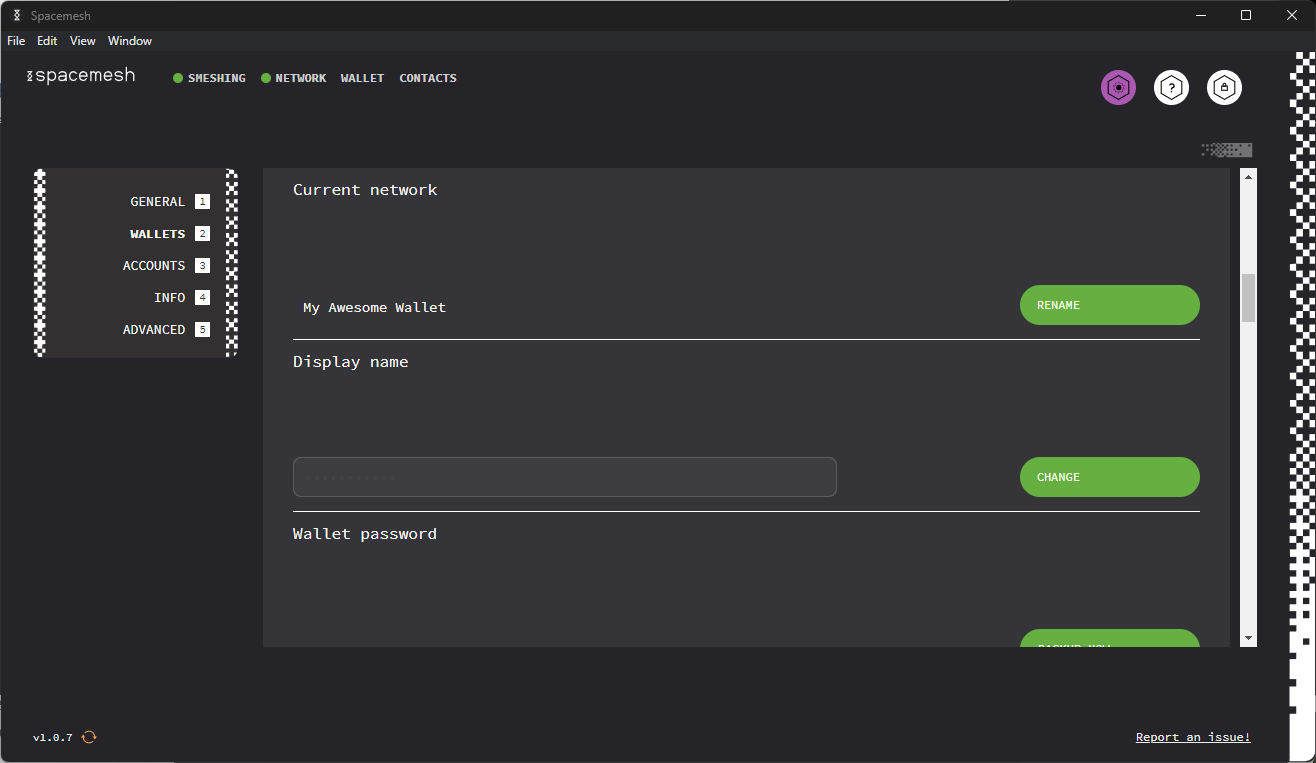
Click on the CHANGE button and the password line will switch to three inputs: one for confirming your old password, one for typing in new the password, and one for confirming your new password:
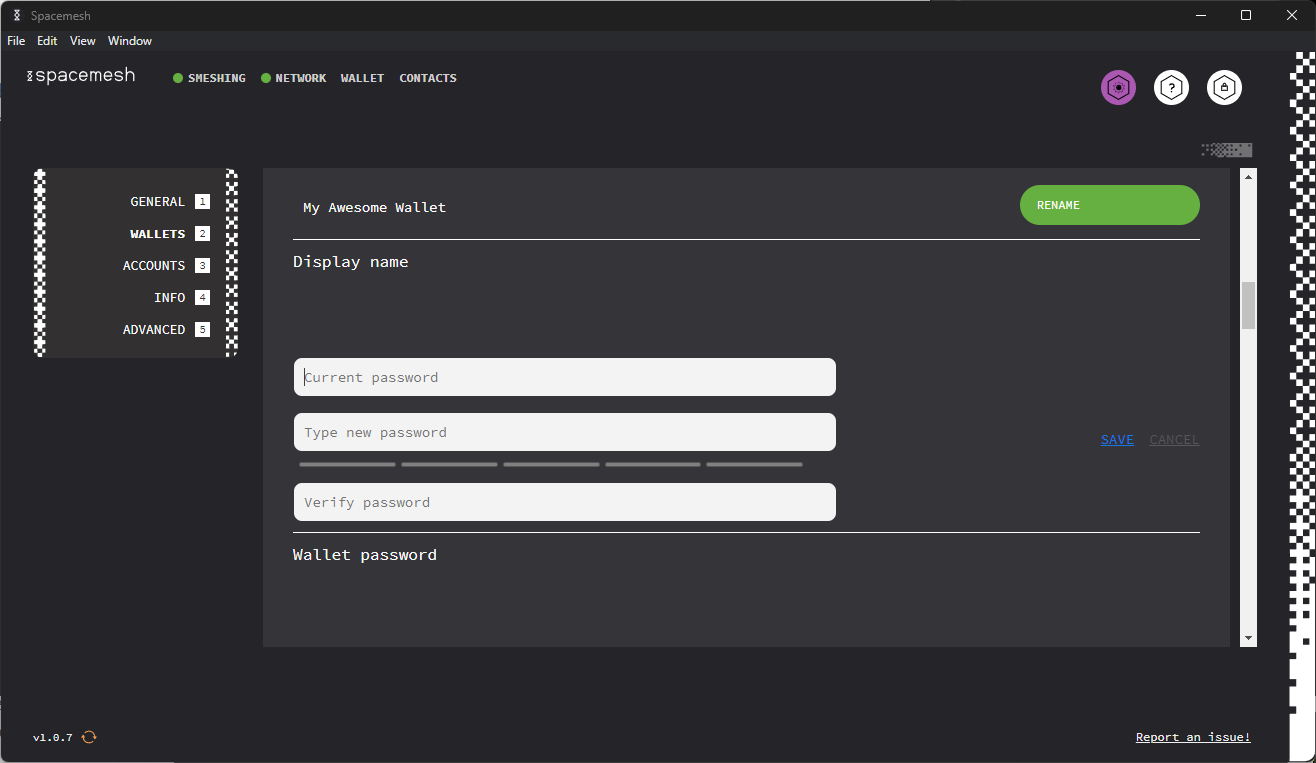
If you wish to proceed with changing the password, click SAVE. If not, click CANCEL. If you clicked SAVE, your Wallet password will be updated to the new password.
Restoring a wallet
There are 3 options to restore wallet:
OPTION 1
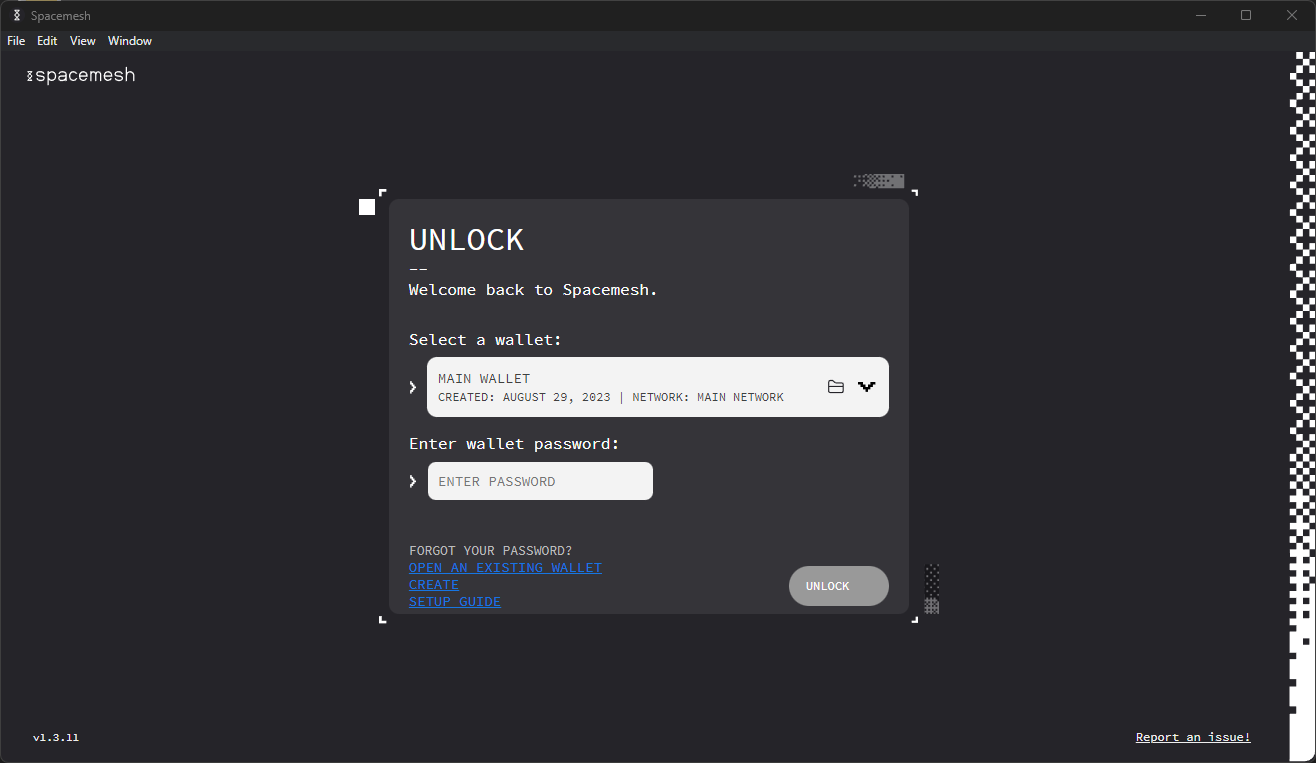
Upon opening Smapp, at "Unlock Wallet" screen, there is an OPEN AN EXISTING WALLET button below the password input field:
Clicking on it will bring you to a screen presenting you with three options for restoring your wallet:
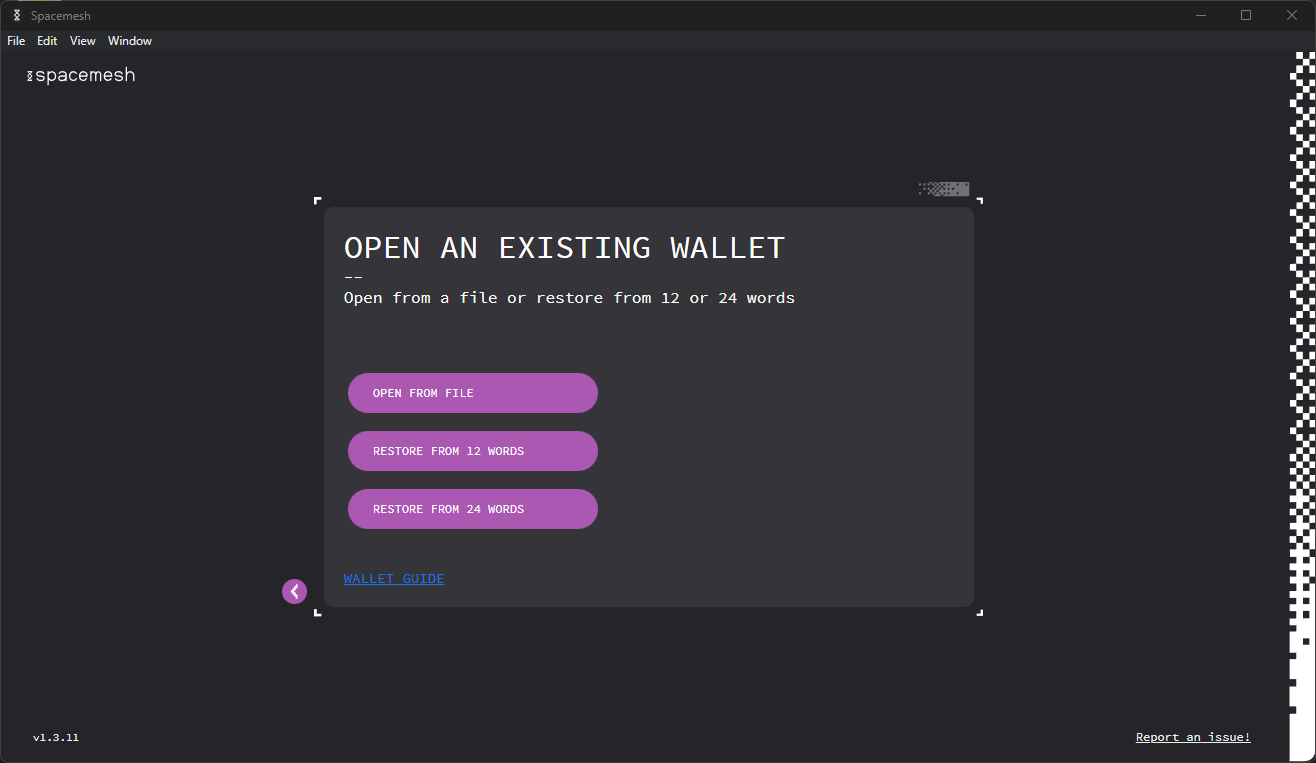
OPTION 2
If you have an unlocked wallet, go to Settings Screen and click on the WALLETS option in the left pane. Then, scroll down until you see Open Wallet section where you will be greeted with three options:

Regardless of which option you choose, the following steps will be the same:
Restoring Wallet from File
After clicking on OPEN WALLET FILE you will be directed to this screen:
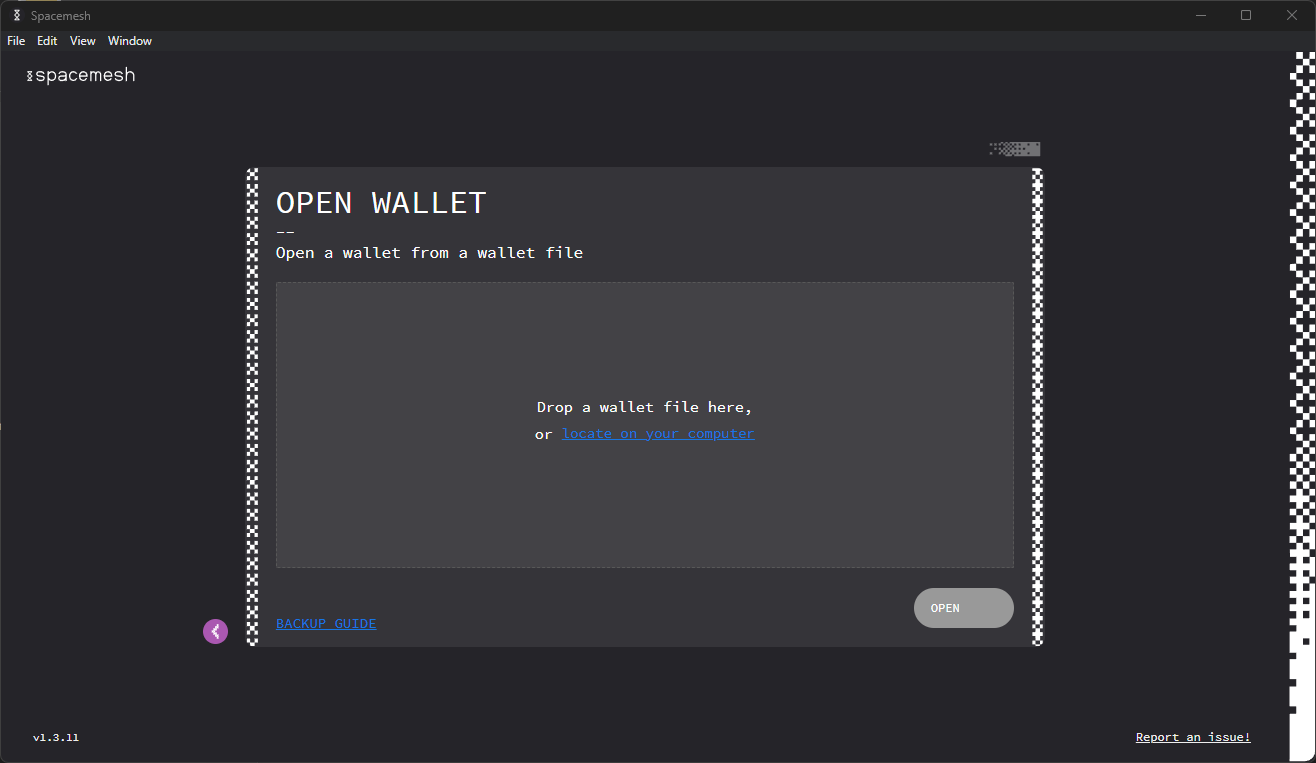
You can drag and drop your file in the designated area or click on locate file on your computer. Click the OPEN button at the bottom-right of the screen and you will be asked to confirm the Wallet import. Click CONFIRM.
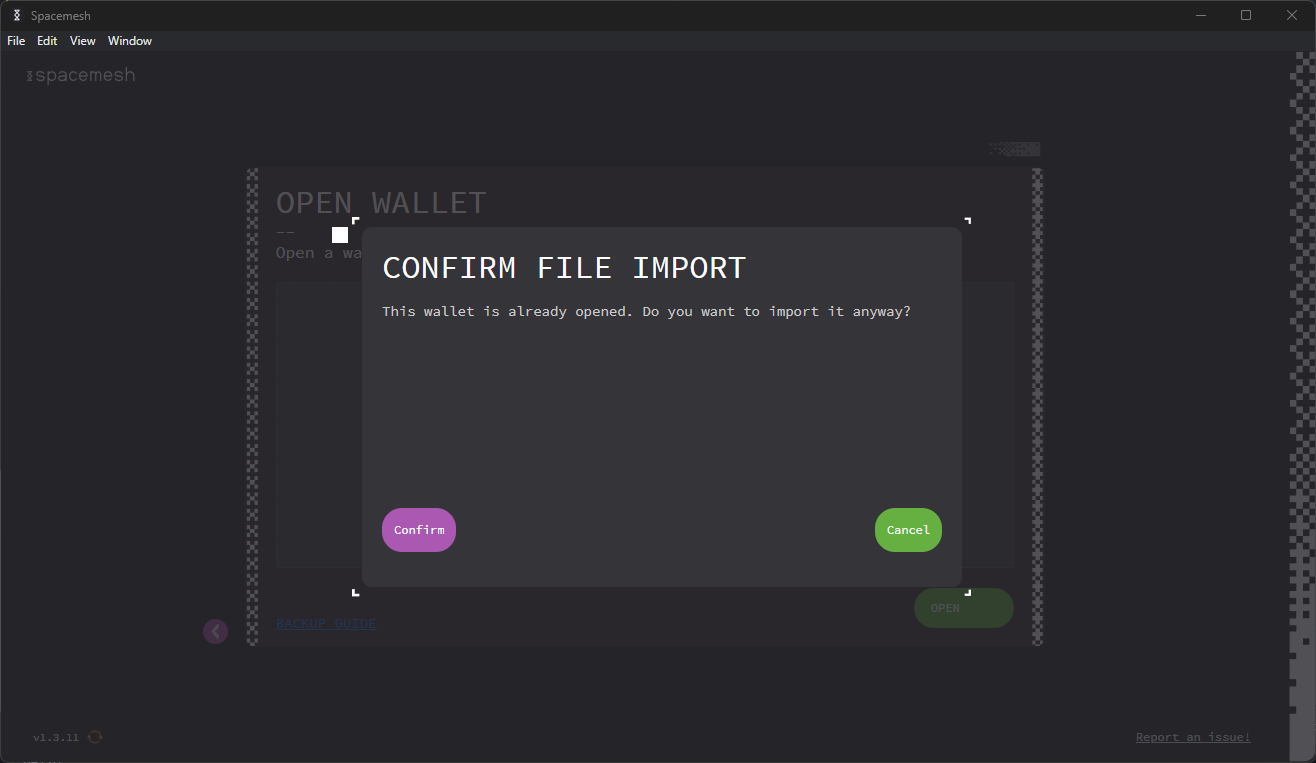
Next, you will be prompted to enter your password. After doing so, you will be taken to the Wallet screen.
Option B: 12- or 24-Word Restore
The method for restoring from 12 or 24 words is the same. Thus, we will demonstrate restoring the Wallet using 12 words. After clicking on the 12 WORDS RESTORE button you will be directed to this screen:
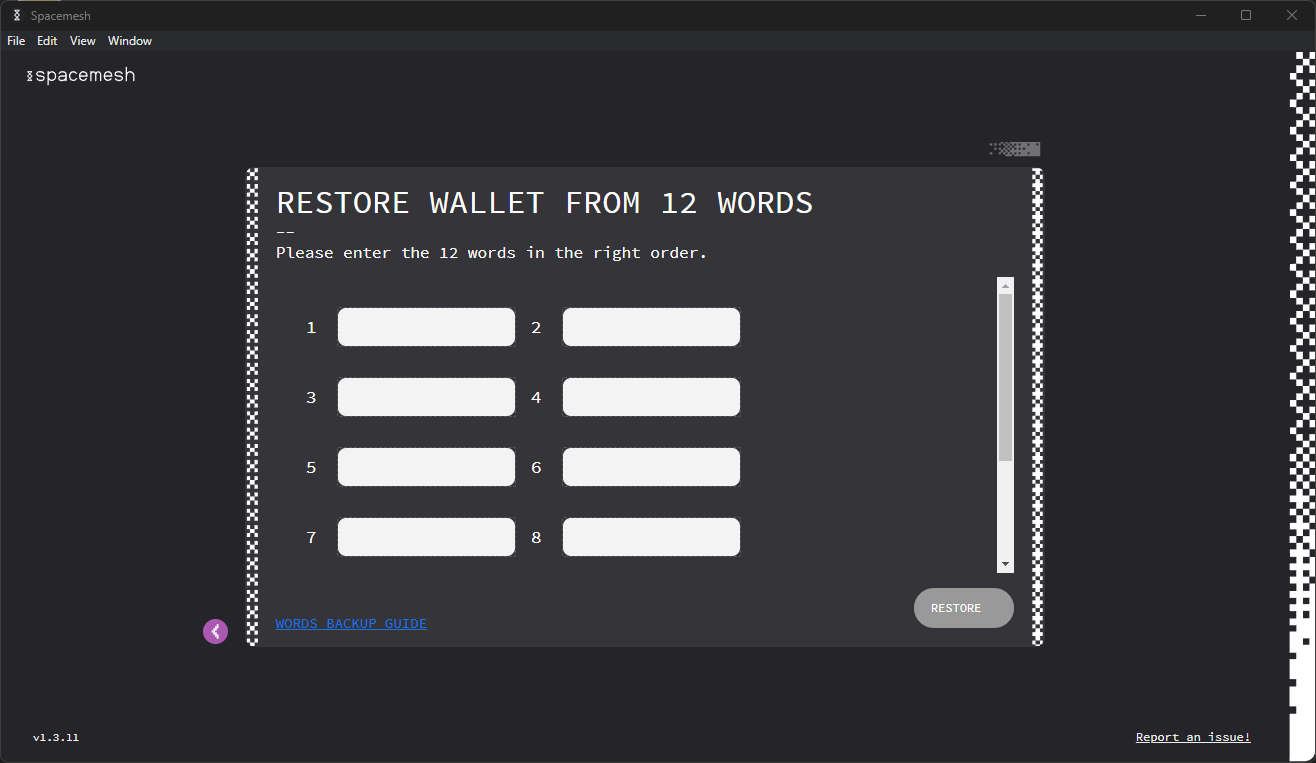
If you have typed the correct words in the correct order, you will be prompted to set up a new wallet.
Adding an Account
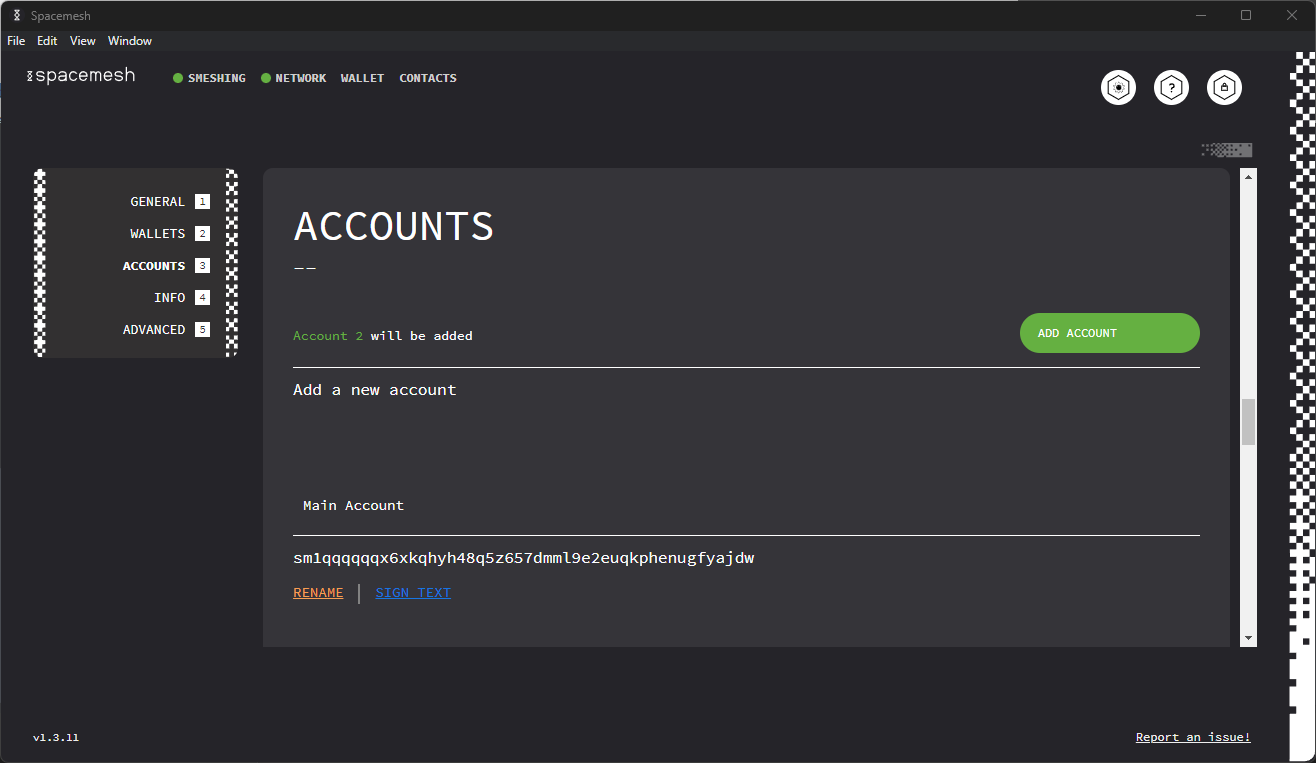
Go to the Settings screen and click the ACCOUNTS option in the left pane. After doing so, you should see an ADD ACCOUNT button.

After entering the correct password, the popup will disappear and you will be taken to the Wallet screen. You will now see the option to switch accounts. The default name for the created account is “Account number”.
Renaming a Wallet
Go to Settings ccreen and click on the WALLETS option in left pane. Scroll down until you see the account that you want to rename. Beside the account name, you will see the RENAME button:
After clicking the RENAME button, you will be able to enter a new name for the account:
After typing the new name, click SAVE to save. To discard changes, click CANCEL. If you click SAVE, you will see your new Wallet name:
Renaming an Account
Go to the Settings screen and click on the ACCOUNTS option in the left pane. Scroll down until you see the account that you want to rename. Below the account name, you will see the RENAME button.
After clicking the RENAME button, you will be able to enter a new name for the account:
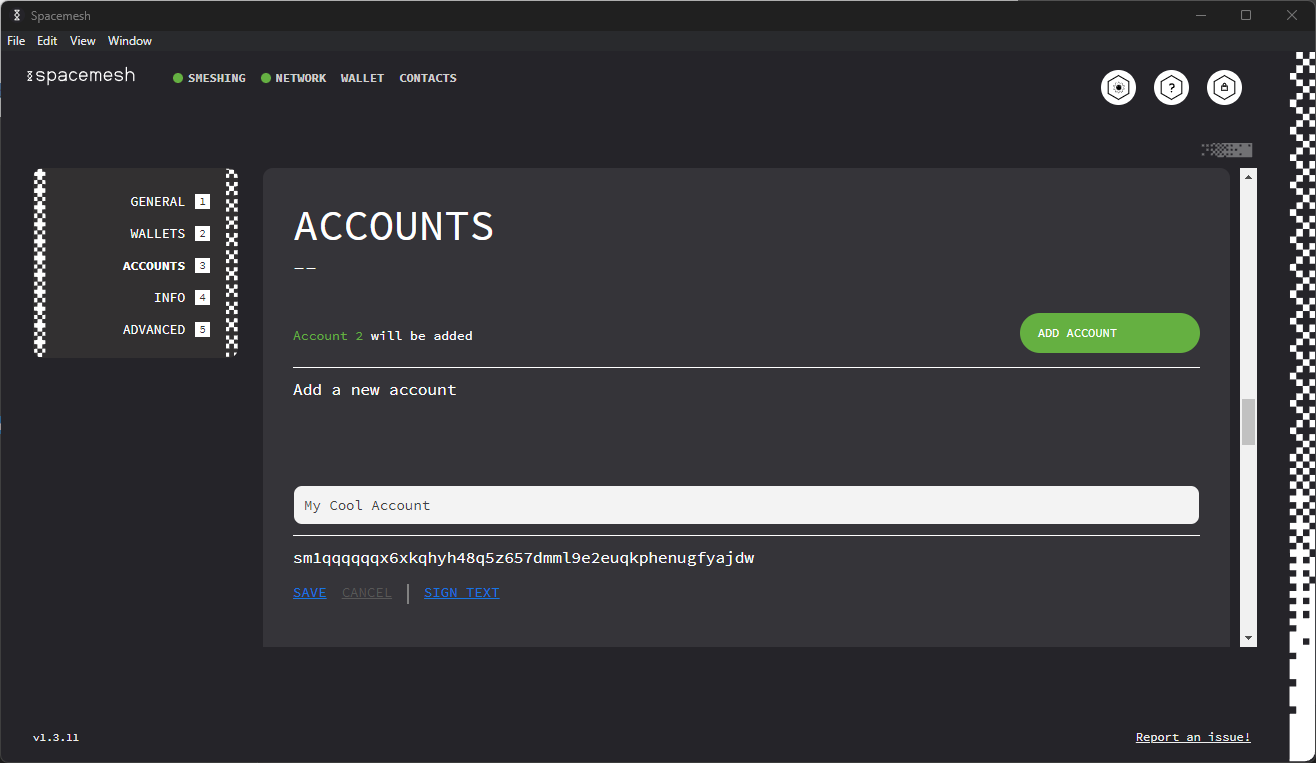
After typing the new name, if you want to save it, click SAVE. To discard the changes, click CANCEL. If you clicked SAVE, you will see a popup asking you to enter the Wallet password. After entering the correct password and clicking the UNLOCK button in the popup, the popup will disappear and you will see the renamed account.

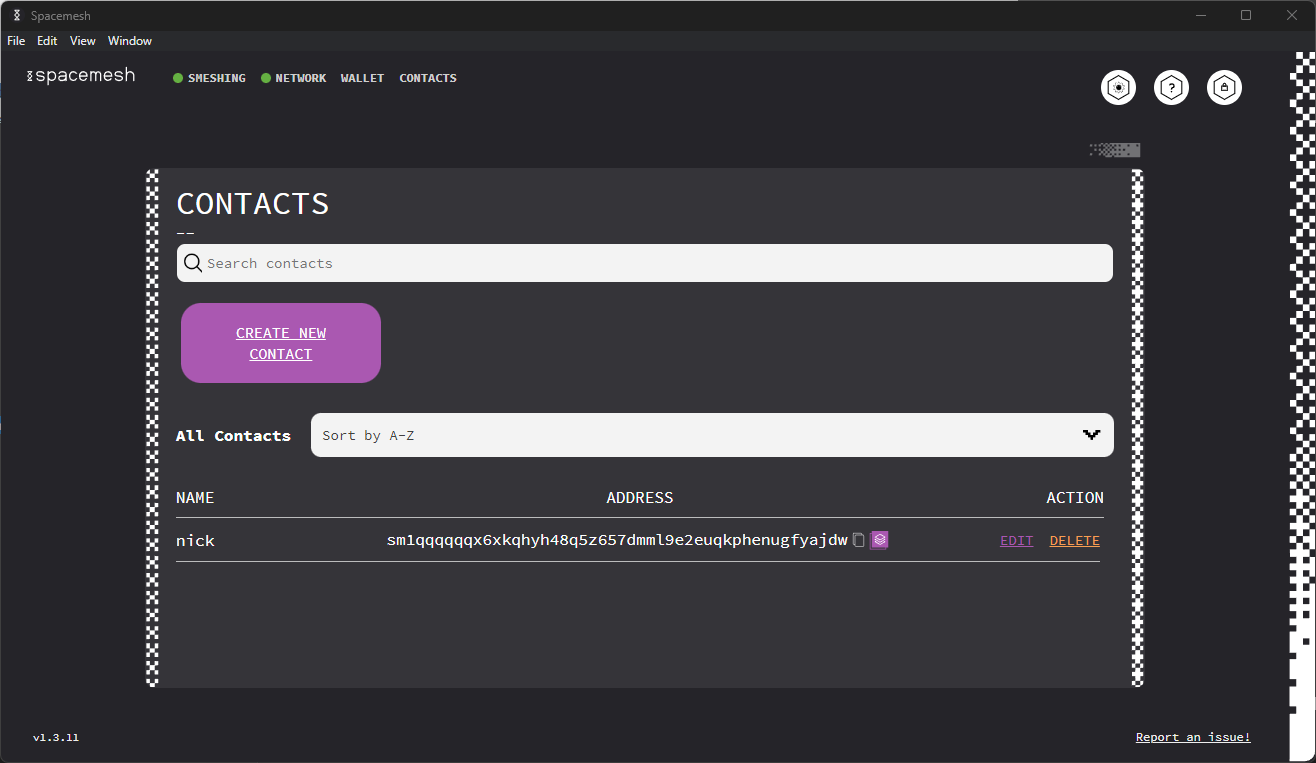
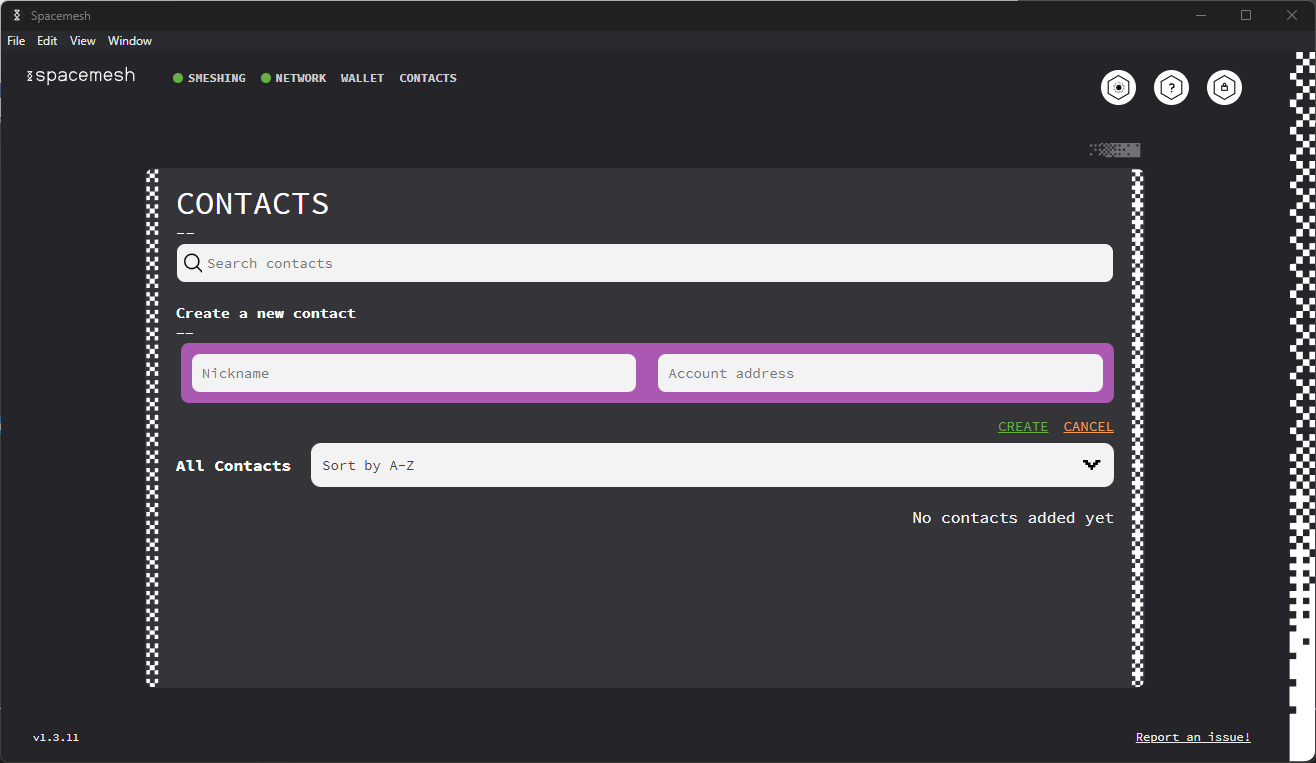
Creating Contacts
In order to create a new contact, go to the CONTACTS tab and click the CREATE NEW CONTACT button.
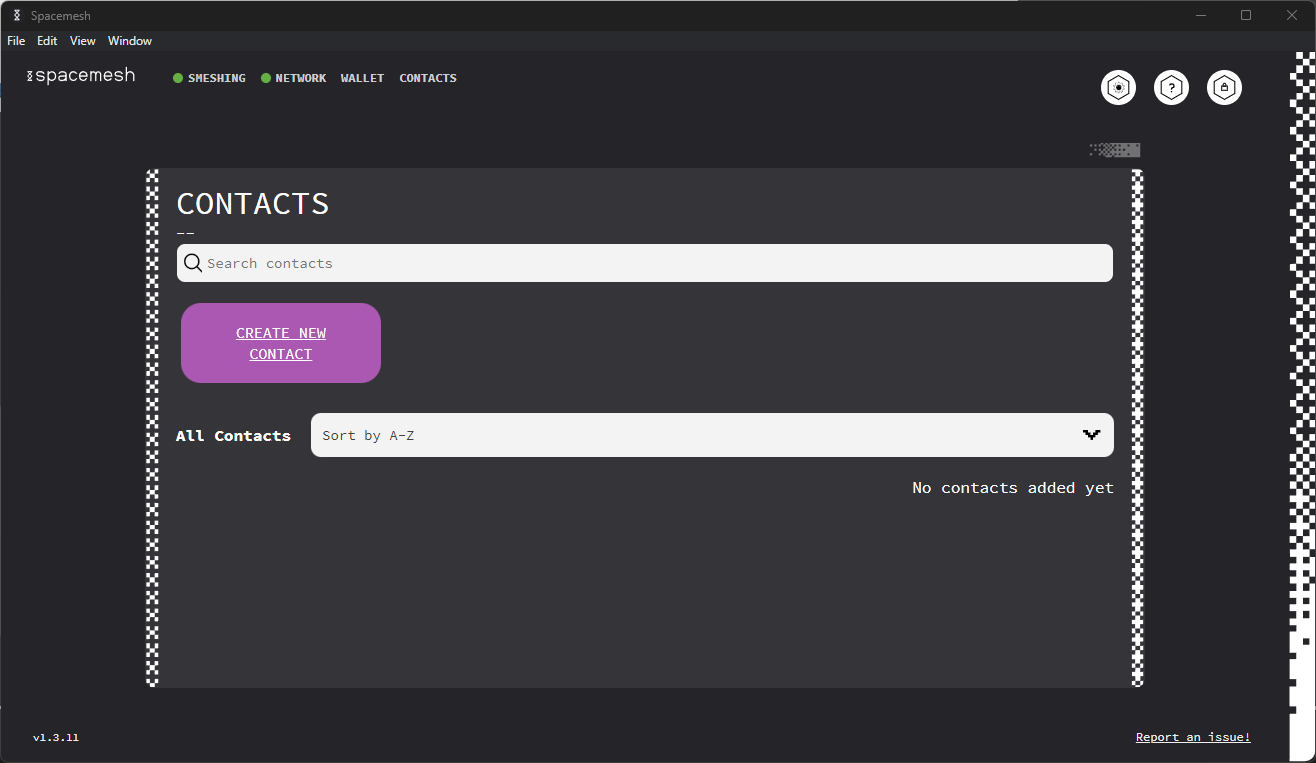
You will then be allowed to enter the contact nickname and address:
After filling in the details and clicking the CREATE button, you will see a popup asking you to enter the Wallet password. After entering the correct password and clicking the UNLOCK button, you will see the newly created contact in your contacts list: